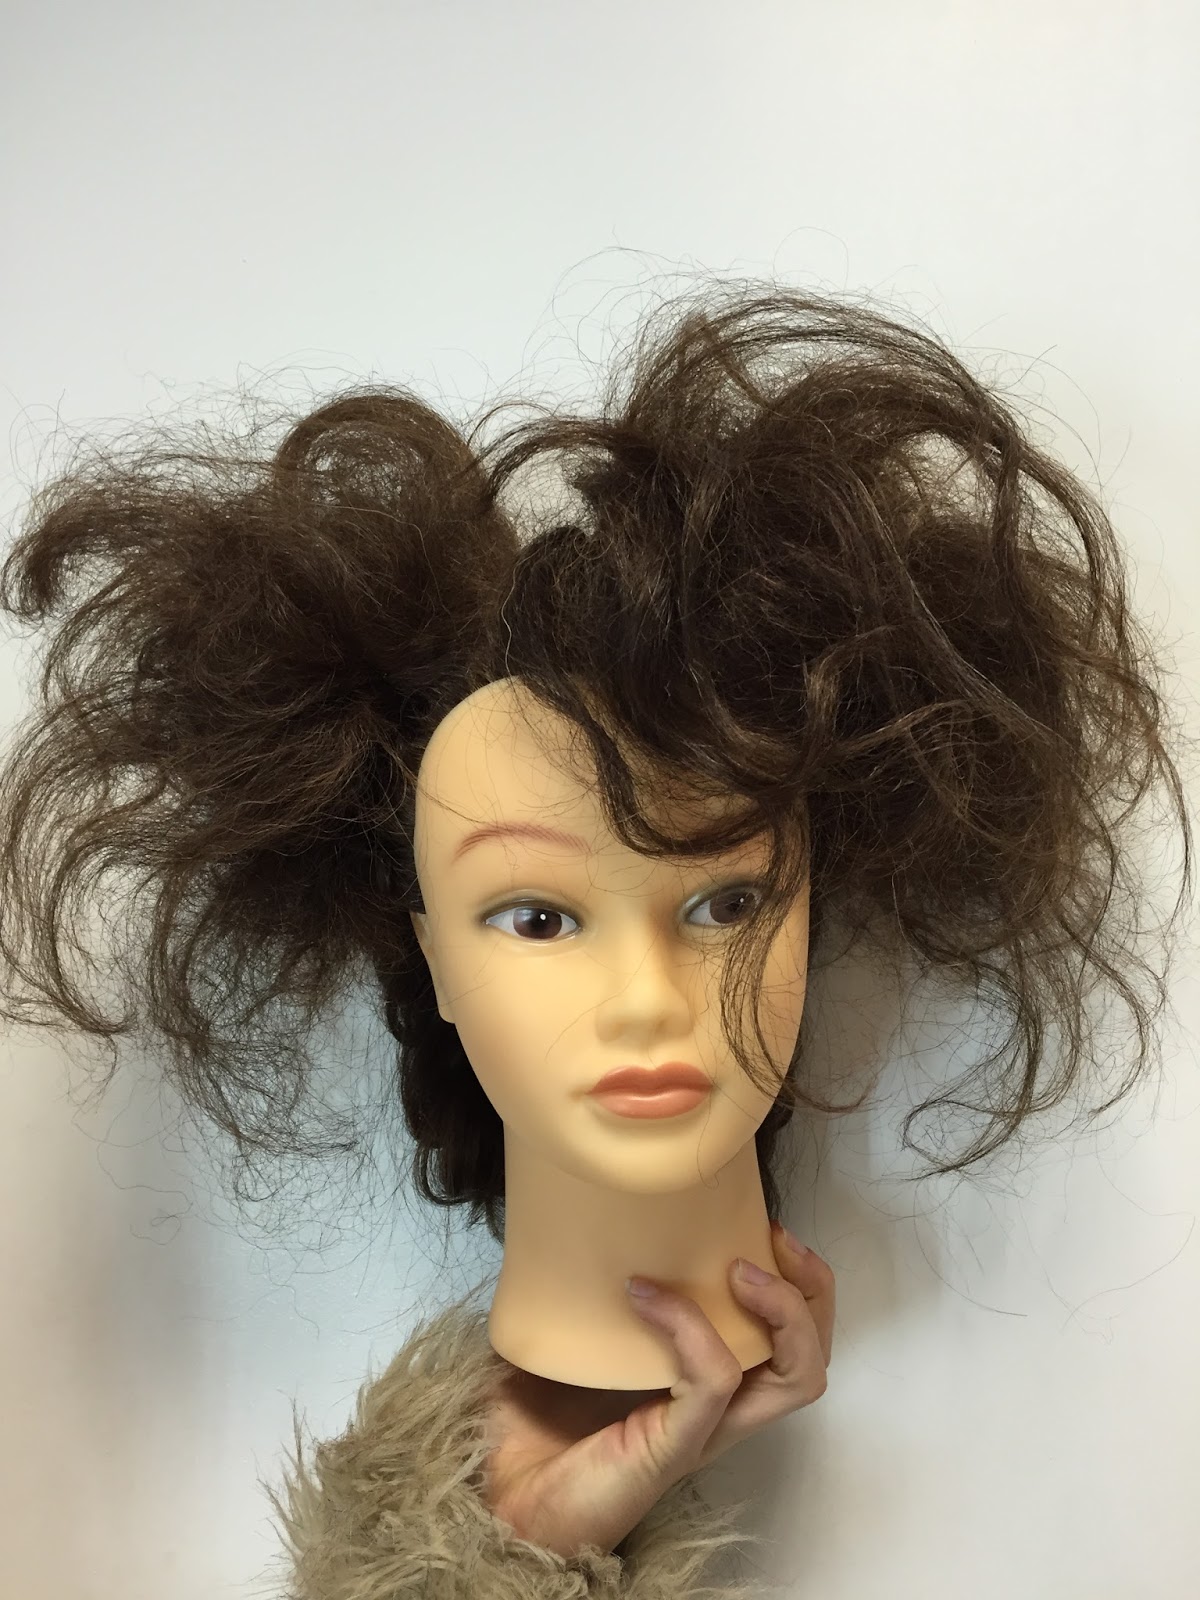
Final Hair Design Assessment
Planning for my final assessment was more stressful than completing it, I wanted to combine all my research and make a design that shows a big, curly and bouncy, Elizabethan style with a modern twist. My first inspiration came from the avant grade looks; there were many designs that used different forms of curls and crimping techniques and my favourite ones leaned toward loose flowing curls. I decided to use a curling tong to create my wanted look and then back-comb the hair and grip it into place. Because my hair isn't the correct texture or length to create this look I wanted to find a model with the perfect hair to ensure my look is exactly as I want it.
Choosing a model was difficult because I wanted to make sure the hair would be the correct type to be able to pile on top of the head without feeling uncomfortable or heavy. It also needed to be thick enough to back-comb easy and create a textured volume. I didn't want to back-comb too much and lose the curls. I am very happy with the way my partner finished the look; padding was used to create an extra boost of volume and hight to the design and my partner, Matida, did well to execute the design and I did well to communicate it to her how I wanted it to be completed. I created a step b step guide for her to look at before the assessment, this was to make sure that if there were any problems she had, they wold be resolved last minute.
I am very happy with the finished design and would not have created it any differently. I wanted to make the design stand out from the rest so I used a model with long thin hair and bought extra products and props to place in the hair to give it more of an Elizabethan influence. For example, I bought a small crown clip to pace in the hair, this was to accentuate the look of a Queen, I also bought gold glitter spray to use over the large bits of hair at the sides, a lot had to be used to create the effect I wanted but Matida did a god job to do this.
During my design practice and planning I was worried that the plait at the back of the head would look too much like a 'rats tail,' and so to change the idea slightly I made the plait into a fish tail. I did this because a fish tail plait can be made loosely and pulled out careful to create more volume. I also wanted it to fit in with the loose feel of my design as a whole and a fish tail plait worked best.
As I was the sitter for my design and Matida the artist, I wasn't able to contribute or add any input, so during the hair assessment I designed and completed the makeup for the photo once the design was finished completely.
Peer Review
I enjoyed working with my partner; before the assessment started we hadn't spoken to each other that much so through this, a friendship has blossomed. We worked well in a pair because we took time out of lesson to practice the hair design, and communicated with each other if there were any changes to the design or any problems. I feel that she was confident in executing the design as we practiced with each other, on the 'Kate' doll and on my model. I made sure my partner was happy and confident with the design process; I made a short list of instructions and order for my hair design to make it easier for her, this then gave her more confidence to complete it on time and to the standard I wanted. I could see throughout the assessment she was working hard to get the design right to the hair chart and my explanations, she made sure the sections were neat and the messy parts were backcombed enough to stand out as much as I wanted. Overall I am very pleased with the outcome of my design and would be happy to collaborate with her again, as she works hard, practices her design techniques and is happy to take time out of her day to work with me on anything I am struggling with, and vice versa.
Peer Review
I enjoyed working with my partner; before the assessment started we hadn't spoken to each other that much so through this, a friendship has blossomed. We worked well in a pair because we took time out of lesson to practice the hair design, and communicated with each other if there were any changes to the design or any problems. I feel that she was confident in executing the design as we practiced with each other, on the 'Kate' doll and on my model. I made sure my partner was happy and confident with the design process; I made a short list of instructions and order for my hair design to make it easier for her, this then gave her more confidence to complete it on time and to the standard I wanted. I could see throughout the assessment she was working hard to get the design right to the hair chart and my explanations, she made sure the sections were neat and the messy parts were backcombed enough to stand out as much as I wanted. Overall I am very pleased with the outcome of my design and would be happy to collaborate with her again, as she works hard, practices her design techniques and is happy to take time out of her day to work with me on anything I am struggling with, and vice versa.